![]()
German S-100 Class Schnellboot (Fast Boat)
The SBoot Superstructure
The 3D animated assembly guide for the kitchen roof.
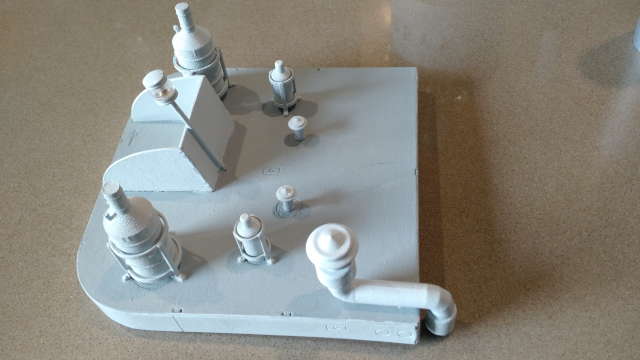
This shows what I now know to be the kitchen or galley roof, this has two larger nebelboje's (smoke bouy's), in cradles (designed by Christian Anderson as IRON-Models) that I purchased from shapeways and two smaller ones also in cradles that I designed as well as the small roof vents (which are possibly too small) and the larger main offset chimney (to clear the main cannon) which I have designed and also made available through shapeways, this offset chimney is fixed to the kitchen/galley roof with two small pegs underneath which are part of the chimney. I have added the aft light to the hatch protection surround as it should be but as this roof is removable I have not made this light operational, in fact I have added another wired and operational light at the stern as part of the deck railing. I have yet to add the depression rails for the Cannon to this roof.

The 3D animated supestructure assembly guide.
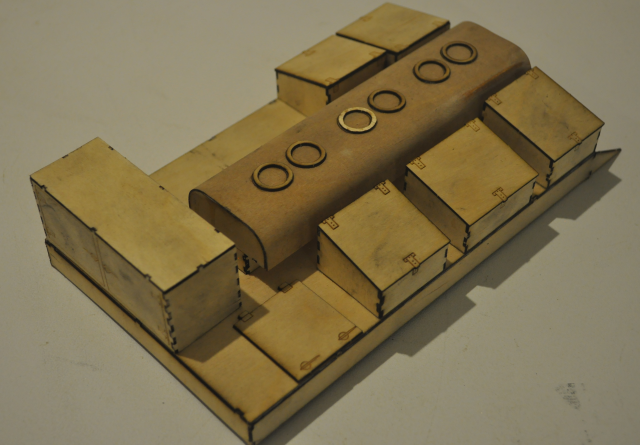
The Schnellboot mid superstructure consists of a number of sections, mostly consisting of mushroom shaped Air vents for the massive supercharged diesel engines and a central duckboard circle for an Oerlikon 20mm canon.
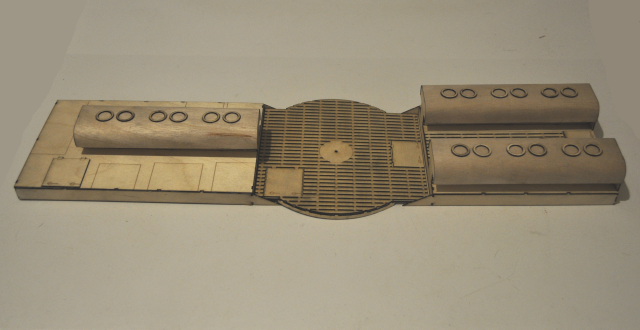
This photo shows the superstructure mid section which has two elevated platforms with the long mushroom shaped air intake vents, one for each engine and located directly over the original boat engine locations.
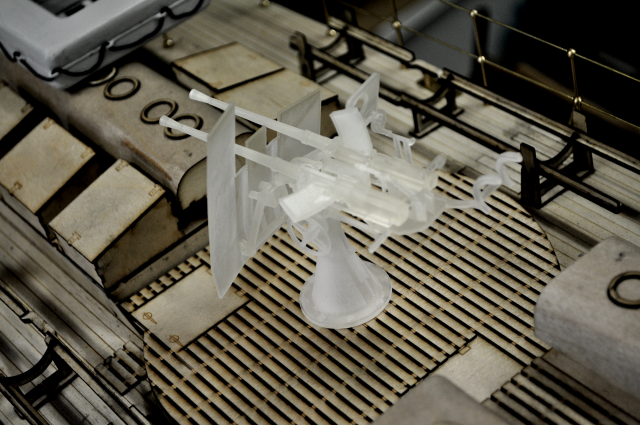
This is a Shapeways 3D printed 1/20th scale 20mm Flakvierling canon (unpainted) shown where it will fit on the main superstructure.
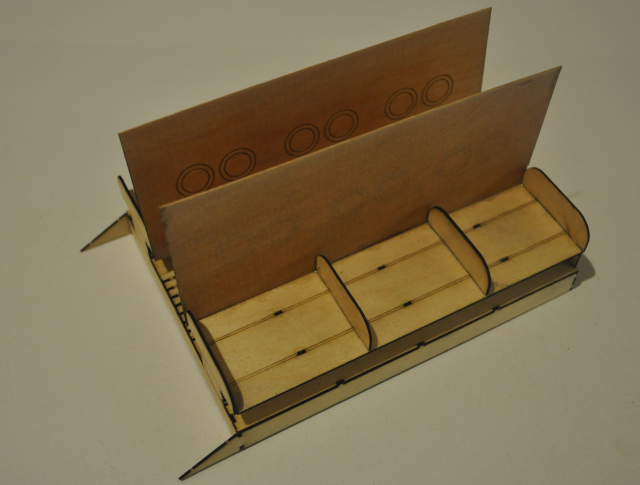
The rear raised deck fitted with ammo storage boxes and locker, just needs the raft on top and this part is complete.
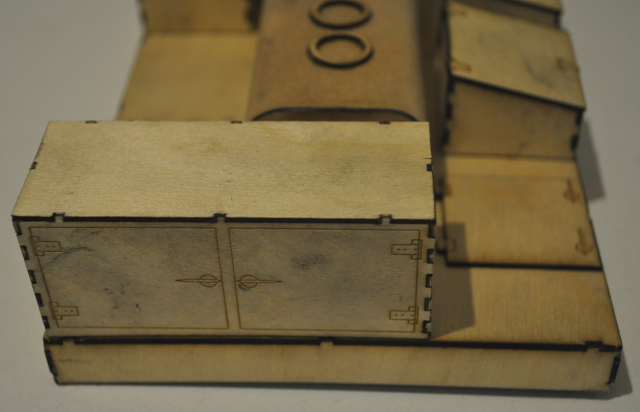
This shows the Bofors ammo locker, it's going to need separate doors though.
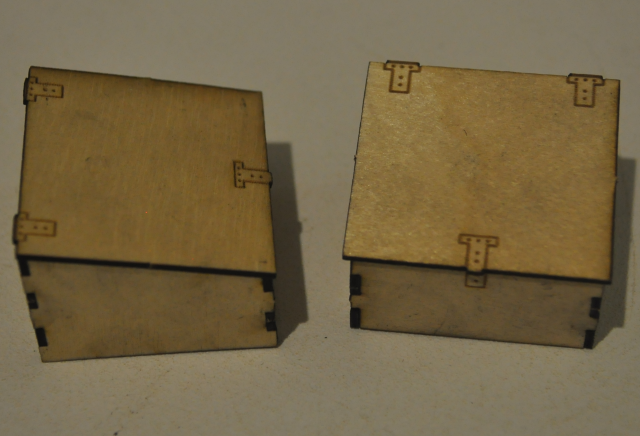
Individual Ammo boxes, there are three different sizes of these, there are two nearest the mid gun which are the same.
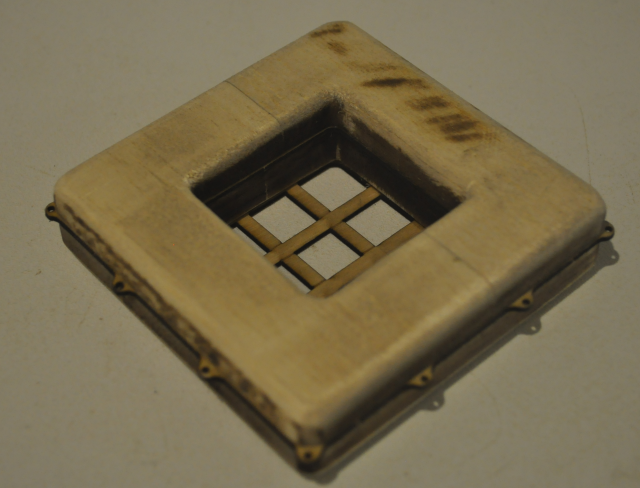
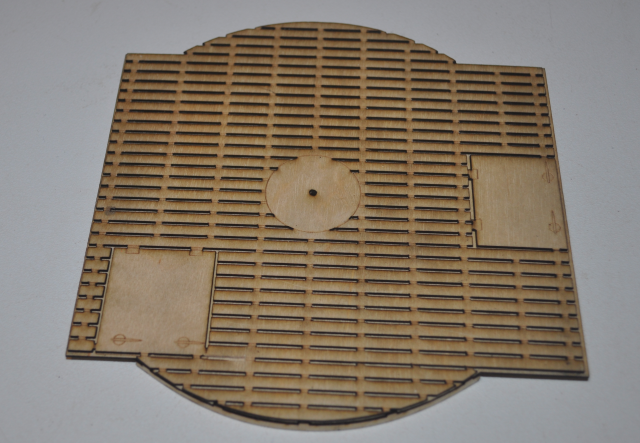
I made a second raft, it has a centre lasercut sheet with the eyelets for some ropes with an 8mm balsa donut above and below and a bottom lasercut sheet with the the grid. I have sanded the edges and the corners of the balsa with a radius and hey presto it looks pretty cool.

The finished raft, painted a light grey color and complete with realistic looking rope threaded through the eyelets in the middle laser cut section. I used a little superglue to hold it down in a few spots and on each eyelet to get it to lay down right, you could also knot it at each eyelet if you wanted.
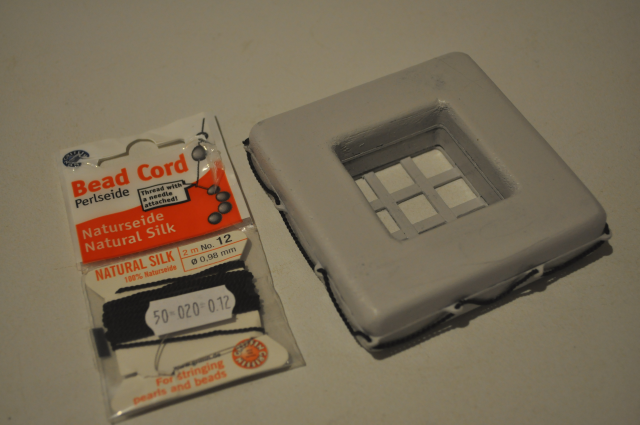
After searching for something that resembled rope for a while I found natural silk "Bead Cord", which is used for stringing beads and pearls, you can get it at a jewellers supplier. I used size 12 or 0.98mm. This is already threaded onto a wire needle which is brilliant and a perfect fit. I think it looks pretty cool too! You could paint the rope as well if you wanted to. It may be an idea to wash this first and hang it with a weight on one end to get rid of the kinks where it is wrapped around the cardboard packet.
The mushroom air vents are made using 1mm Scandinavian Birch, 3 Ply, material for everything except the mushroom curved top as it needs to bend over a small radius so I have cut it from 0.4mm Birch ply material. the ply needs to be soaked in hot water for a while to prevent it from splitting during the bending process.
I glued one side of the curved top first and let it dry overnight and then after applying glue I used the edge of the bench to bend the entire length at the same time.

Sometimes the CA glues have an issue if they are moved during the initial setting time and so it needed to be clamped while it sets properly.
This shows the last side of one of the vents being pushed against the edge of the bench.
This shows the top being glued, again using hand pressure and the edge of the bench.
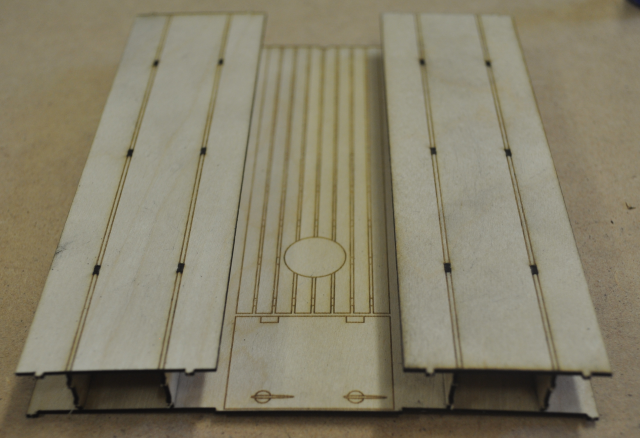
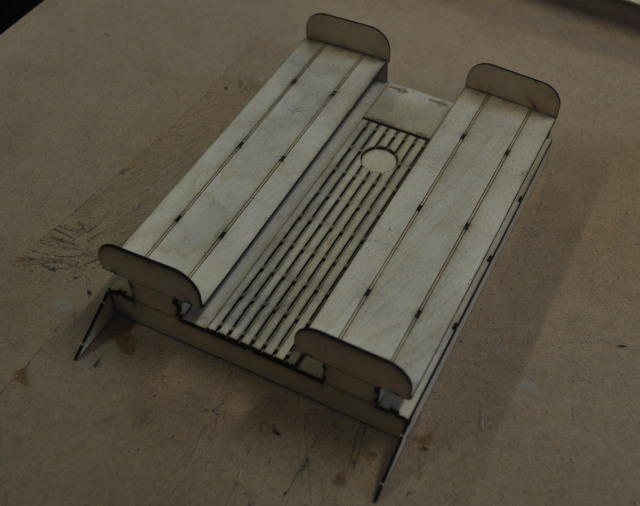
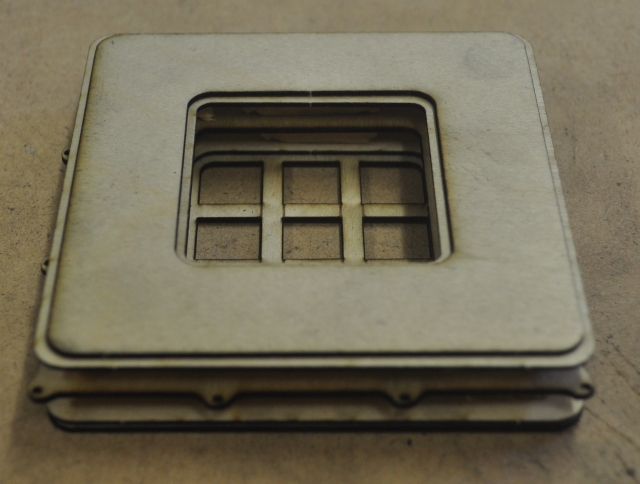
This photo shows the mid gun deck duck boards, a bit of a chore pushing out all the laser cut spaces but it looks very cool!

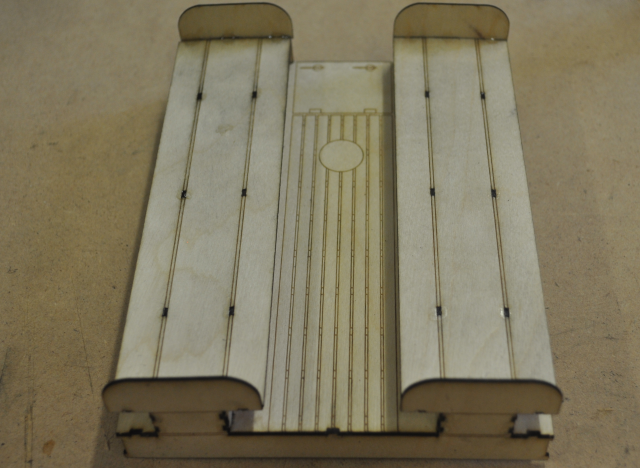
This shows the underside of the mid gun deck, there are two layers glued together and the curved side pieces which sit over the deck.
Here I have shown the two top covers glued in place on the inside sides only, I left them to set overnight or they would pull away once they are bent.
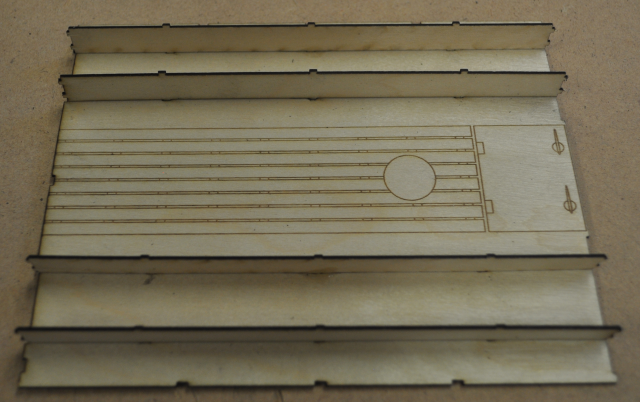
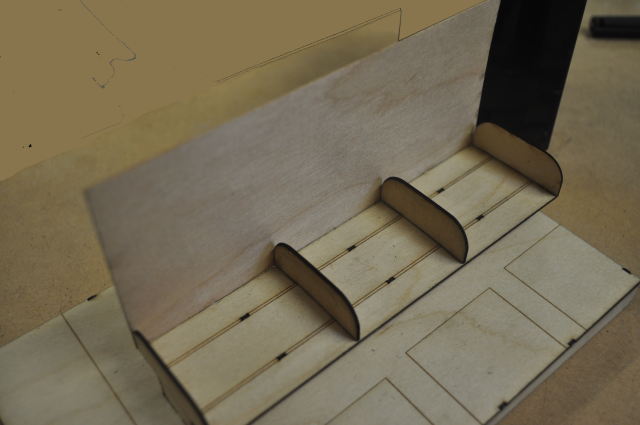
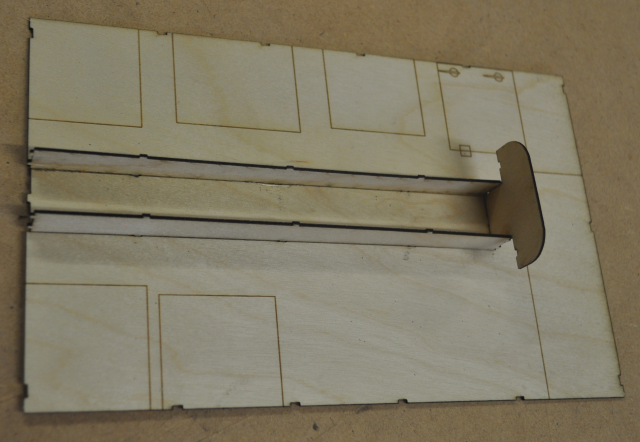
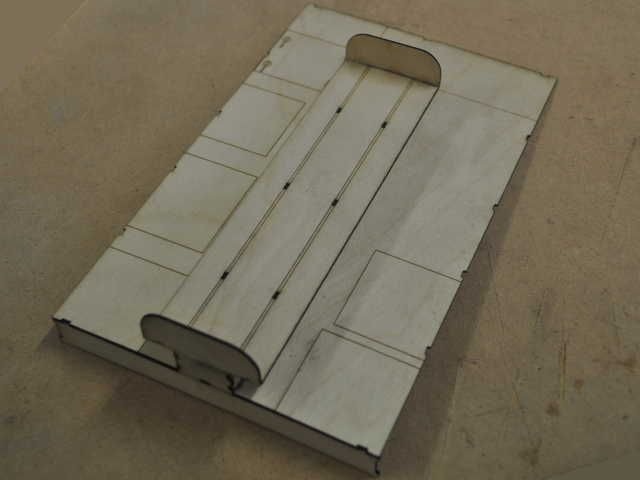
This shows the fwd mid section raised deck with mushroom base supports in place and the locations for the duckboards and hatch shown etched into the deck.
I have added the mushroom bases.
The fwd mid raised deck with two mushroom vent ends and bases in place.
Here I have added the duckboard section and the hatch.
This picture shows one of the mushroom ends and the base supports attached to the aft mid section raised base.
This shows the aft mid section raised deck and the single mushroom vent base and both ends in place.
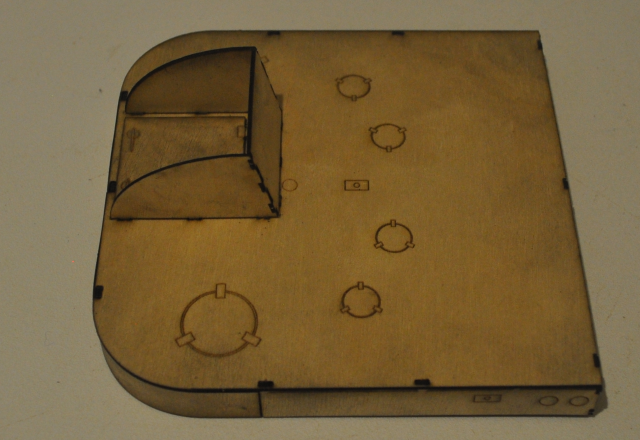
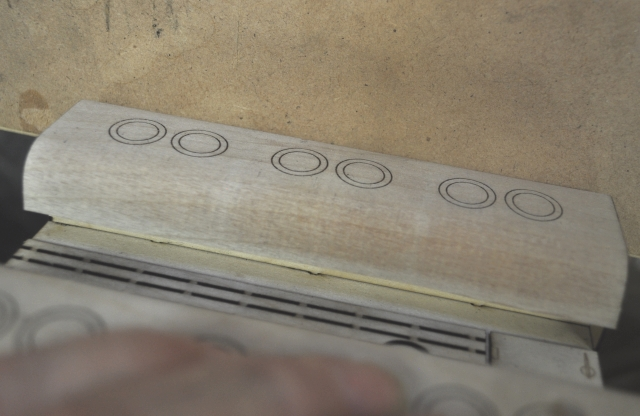
The rear raised deck or hatch cover is fairly simple and has a protected hatch, there are a number of circular pods mounted on the top which I have marked.

Aft view shows that the protected hatch is off centre to the port side.
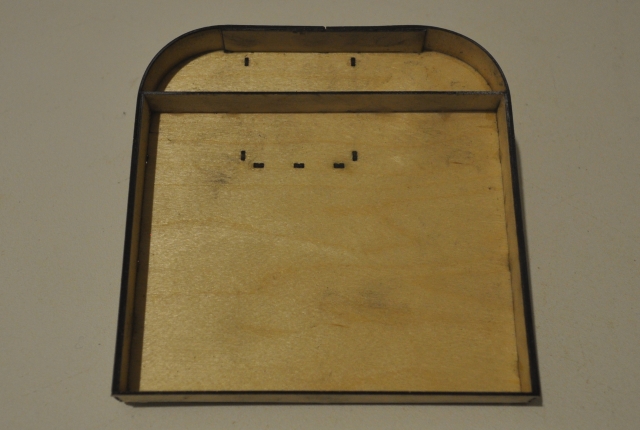
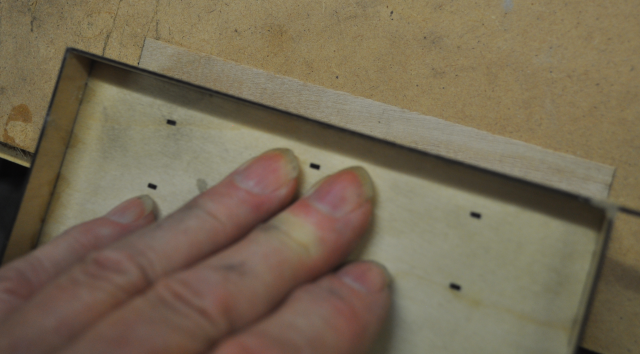
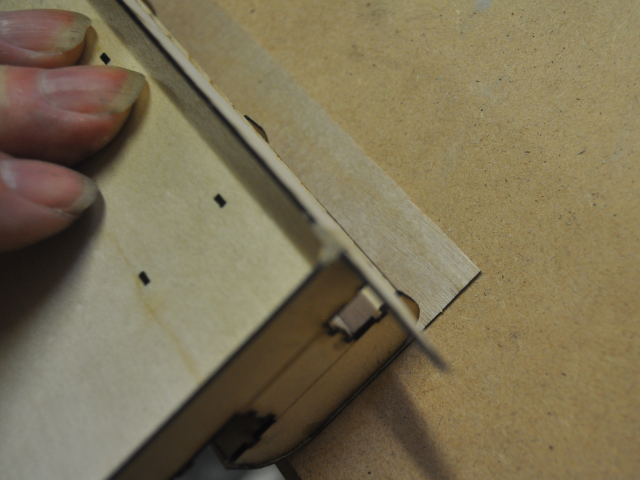
This shows the underside of the rear raised deck section, because the rear corners are rounded it is difficult to make a deck upstand with the same curve so I decided to add a squared up rear edge so that the upstand can just be square.
This view shows my first cut at the square life raft, not happy with it yet.
(C) Copyright 2017-2019 - John Drain