Mast and Radar
The Mast is one of the most complex parts of the project, it has a rotating radar antenna and lots of bits and pieces to make. The Radar Antenna rotates about 3 or so revs per minute with 2 x 1.5Volt AAA batteries fitted in a batterybox mounted under the mast and the day cabin roof. The motor and light (LED) are connected via some spring loaded printed circuit board "test pins" mounted through the day cabin roof so that they only operate when the mast is upright. The battery life seems to be excellent.

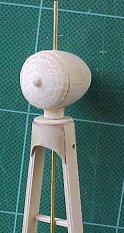
The almost finished mast.
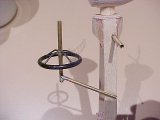
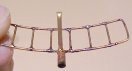
The directional antenna is made from brass tube and wire soldered together and a rubber "O" ring superglued to the wire ends, holes were drilled into the rubber "O" ring and through the upright tube for strength.
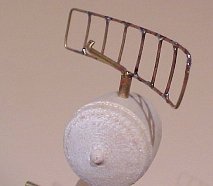
 The Radar antenna fits over the rotating brass wire.
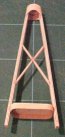
The basic mast structure.

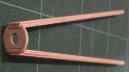

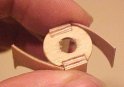
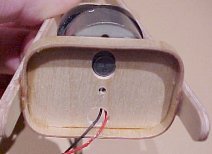
A block made from layers of 5 layers of 1.6mm ply is glued to the crossbeams. In the original boat this would probably have been the radar antenna rotator. The back layer is in two halves to form a virtual bearing for our antenna rotator wire. Make sure when glued on that the "bearing is in line with the centre of the hole in the top ring, use a piece of brass wire to line it up but be careful not to glue it into the bearing, just apply a "tack" of glue, then remove the wire and glue the block in place properly. The antenna rotator wire should turn easily in the bearing.
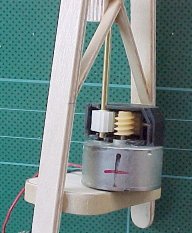
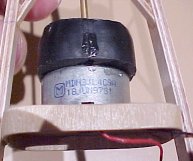
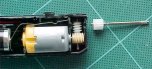
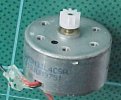
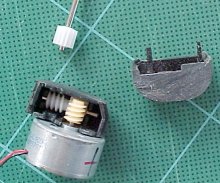
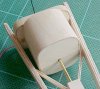
The antenna rotator is made from a motor from an old computer CDROM drive (old computer peripherals are a great source of cheap parts) and the double worm drive gearbox is cut from from a "Chuppa Chup" rotating lollypop handle (again a great source of cheap parts) I couldn't find a plain handle so I had to buy a Marvin the Martian Theme one from the local toy shop but it was still under $10.00 and you get to keep Marvin, the Chuppa Chup, a good motor and a battery! The gearbox has been sawed off at both ends, sanded and glued to the top of the motor. Glue one half on the motor and make sure that the mechanism rotates properly before gluing on the other half, superglue works fine.
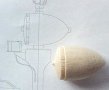
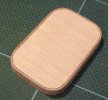
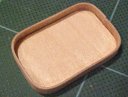
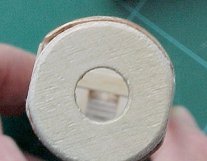
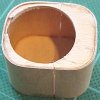
The fixed Radar dome was made with a block of Balsa wood in a stand drill with a file and sandpaper, if you have access to a lathe, even better.
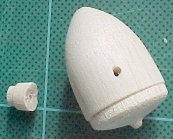
Also make a small base the same way and drill a hole through it and the Radar Dome for the antenna rotating wire.
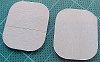
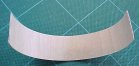
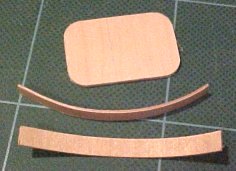
Cut out the top and bottom of the gearbox housing from 1/16" ply and the sides are all made from one piece of 1/32" ply.
Score the top and bottom part way through at the point that the antenna rotating wire passes through the top and fit the sides in two halves in line with those score marks, so that we can easily cut the box in half once it's finished in order to fit it around the gearbox and motor.
 Cut a
hole in the bottom to fit around the motor.
Cut a
hole in the bottom to fit around the motor.
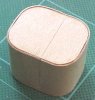
Once the housing is cut in half, sand the edges so that it fits together neatly and cut a hole (half in each side) to fit around the rotating shaft.
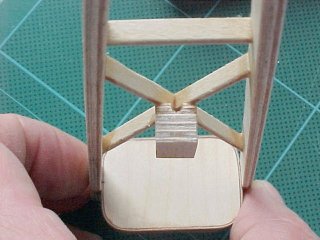
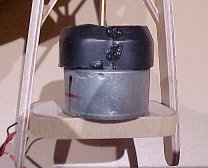
The housing fitted in place.
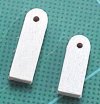
Make two hinge posts for the mast from two thicknesses of 1/16" ply, laminated together.
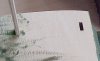
Cut two rectangular slots in the day cabin roof to be a tight fit for the mast base hinge posts to fit through. (note that the holes shown here were actually cut in the wrong place and should have been much further to the left).
Attach the mast to the hinge posts with a piece of 1.6mm dia brass wire and make sure the mast lies down correctly and also stands up straight before gluing the hinge posts into place. One hinge post is longer than the other because the day cabin roof is not flat.
Historical Photo
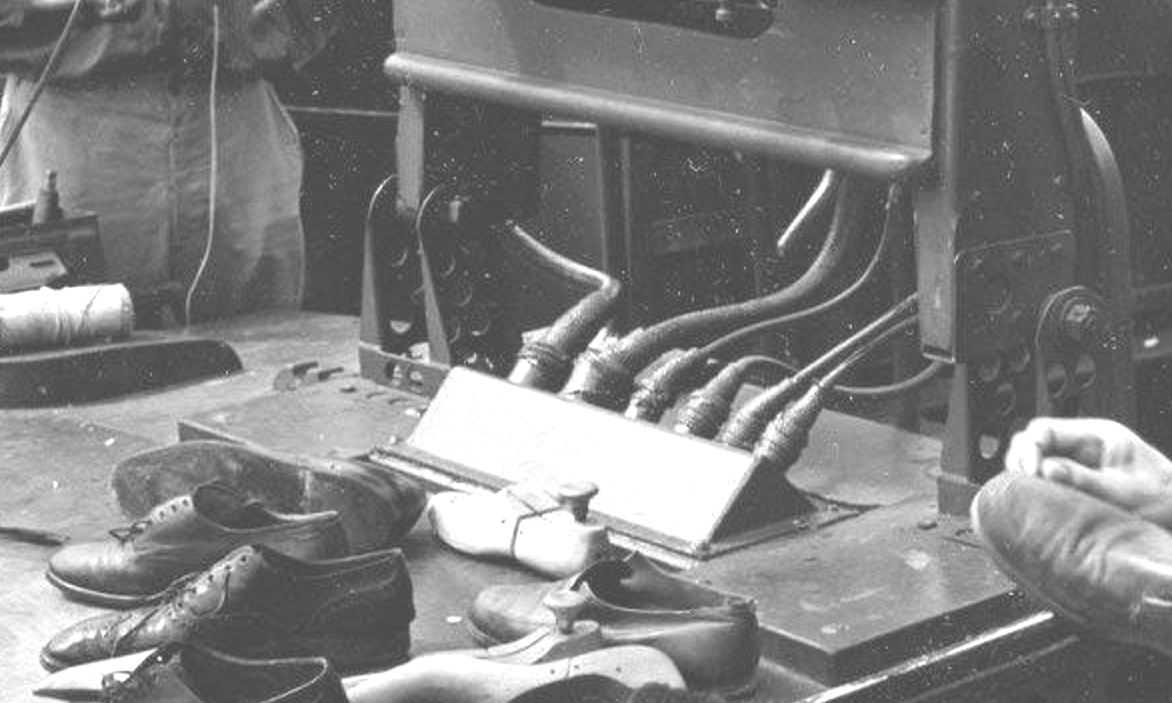
This is a great photo as it shows the mounting base for the radar mast and the electrical conections to it. Note that the port side hinge bolt is at the rear of the base mounting bracket and the starboard side bolt is at the front, this explains how the mast hinged down to the starboard side to clear the dinghy as the hinge line is offset. Also note all the holes in the brackets to reduce weight.