20mm Oerlikon Cannon

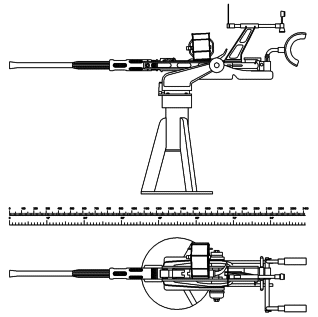
The pictures above show the Oerlikon cannon fitted with shoulder cups and sights, this was usual on British MTB's and seems to also be the case on some of the earlier US PT-Boats (maybe where they were retrofitted to the boats by the crew).
Sometimes there was a bag fitted below the cannon cradle to catch used shell casings and there also seems to have been a strap for the operator.
Later US PT's used the leaning brace shown on the model cannon below and they didn't seem to bother with sights. The leaning brace would have given much better control over the guns elevation for shooting at aircraft.
A very good documentary from World of Warships, Naval Weapons, on the 20mm Oerlikon on Youtube: https://www.youtube.com/watch?v=W7qExnBNWJk
Or this one from Forgotten Weapons.com - 4 fun facts about the 20mm Oerlikon Cannon - https://www.youtube.com/watch?v=6yCxITYzW-0
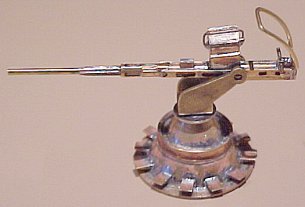
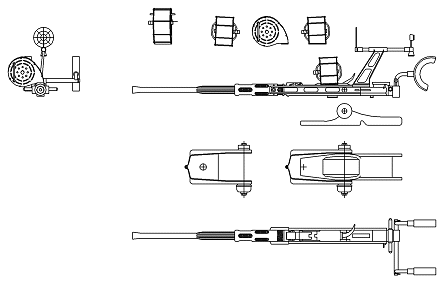
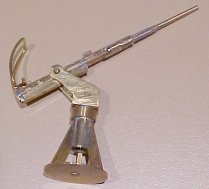
The objective is a (possibly operational) 1/20th scale 20mm Canon.
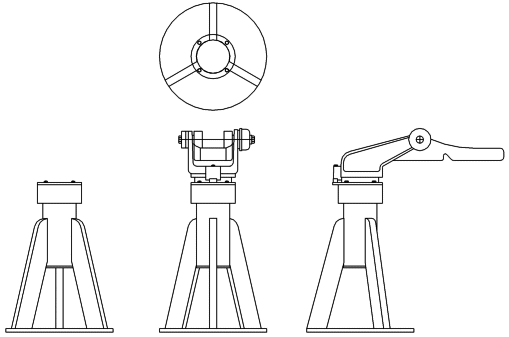
Excuse the base on the photo above, this is actually the base for the 37mm Canon and if you look at the photo for that canon it shows the correct base for the 20mm.
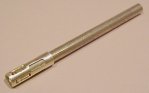
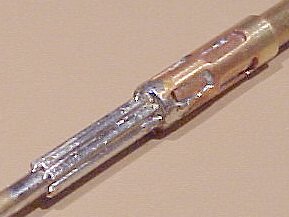
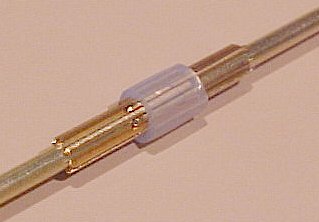 Basic barrel made from
brass tubing, in order to make the cooling spline I used gold plated wire wrap
pins cut off an IC socket, 16 fit perfectly around the tube, pull eight
forwards, hold them in place with silicon tubing and solder in place, then
remove the other eight, perfect and simple to do!
Basic barrel made from
brass tubing, in order to make the cooling spline I used gold plated wire wrap
pins cut off an IC socket, 16 fit perfectly around the tube, pull eight
forwards, hold them in place with silicon tubing and solder in place, then
remove the other eight, perfect and simple to do!
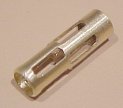 Another bit of tubing drilled and filed with needle files.
 Assembly starts
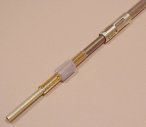 Leave the silicon tubing on until it's all soldered.
 Voila!
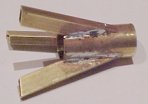
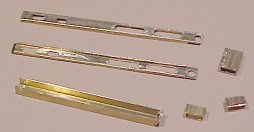 Make some side bits, a bottom thingy and a back bit
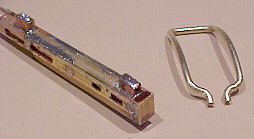 This shows the sides, bottom, back and a couple of top thingy's in place and the folded leaning brace.
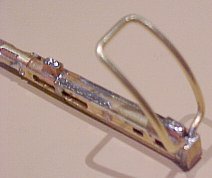 Leaning Brace soldered in place
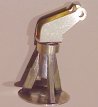
 Looks quite the part so-far
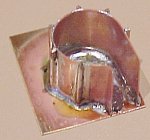 The ammunition Magazine folded out of sheet with wires soldered on. Cut around the front and back (not soldered on yet) with scissors and then file to shape.
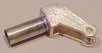 The cradle
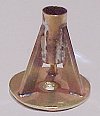
 The cradle and tripod mount.
 The tripod legs soldered in place
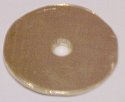 The base cut out with a hole saw. A countersunk screw in the middle will hold it in place.
 Solder legs to base
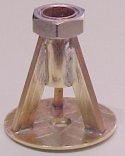 Brass nut soldered at the top.
I use the stand drill a lot at low speeds with a range of files to trim up things that are supposed to be round, like the base and the nut.
I am not sure what to do with the finish yet!
1/35th scale Oerlikon Canon (May 2016)
For the 1/35th scale Elco or the 1/35th scale S Boot I decided to buy a resin kit and make that up:

This is a resin and photo-etch model kit from CMK.
Czech Master Kits, more
commonly known as CMK, has been one of the Czech Republic's contributions to modeling since the mid-1990s.
Originally it focused on production of resin cast kits but later production expanded and a range of
resin detail accessories, detail sets, white metal accessories together with
modelers' tools and aids was introduced. In addition, CMK also publishes
monograph books focusing on interesting subjects which contain detailed scale
drawings as well as original photographs and color profiles.
CMK company is well known to most modelers as producers of very high quality
resin kits and etched brass conversion and detail sets for vehicles and aircraft
in all scales. They have been a very early contributor to the small scale armor
community and known as one of the best companies out there.
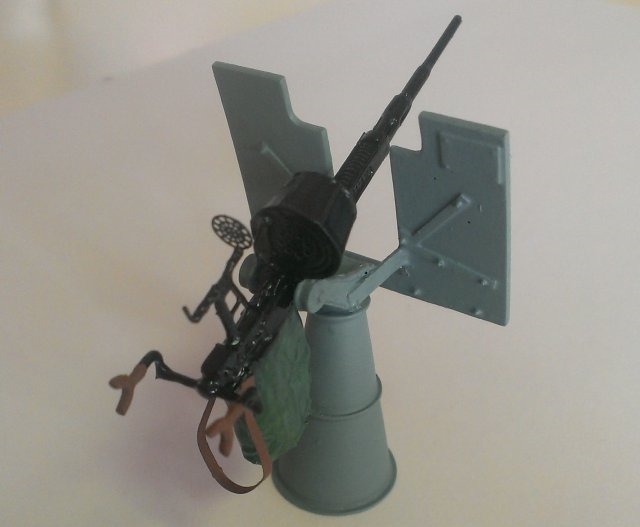
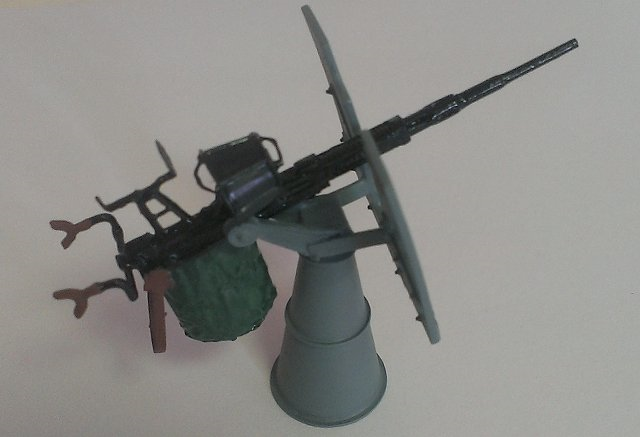
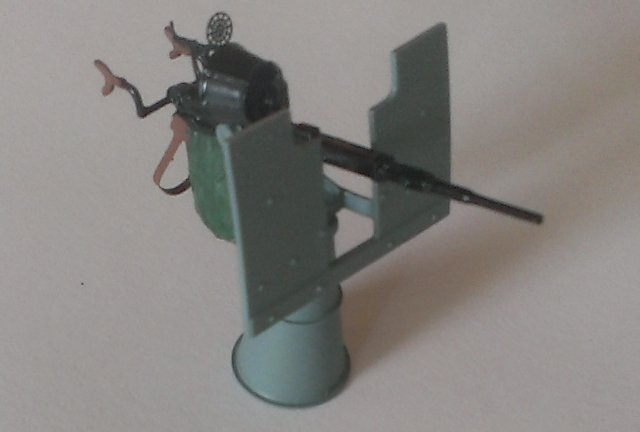
This is US version with the USN carriage and front metal shield.

I had a few issues with this kit as the parts are quite small and I'm not, I broke a few myself but a couple of pieces were broken in the box.
I painted this using the recommended colours from the CMK instructions: Humbrol black 33, Humbrol brown 133, Humbrol grey/green 76 and Humbrol grey 87. I have since overpainted the grey with matt 147 grey as this will be on the Schnellboot model.
Historical Images
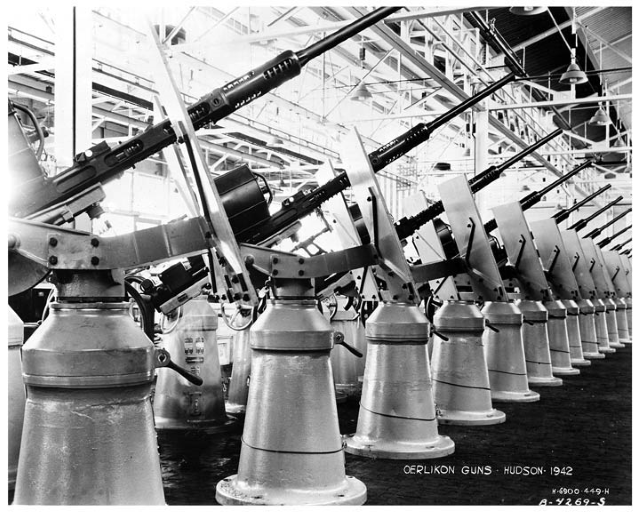
A few Oerlikons circa 1942.